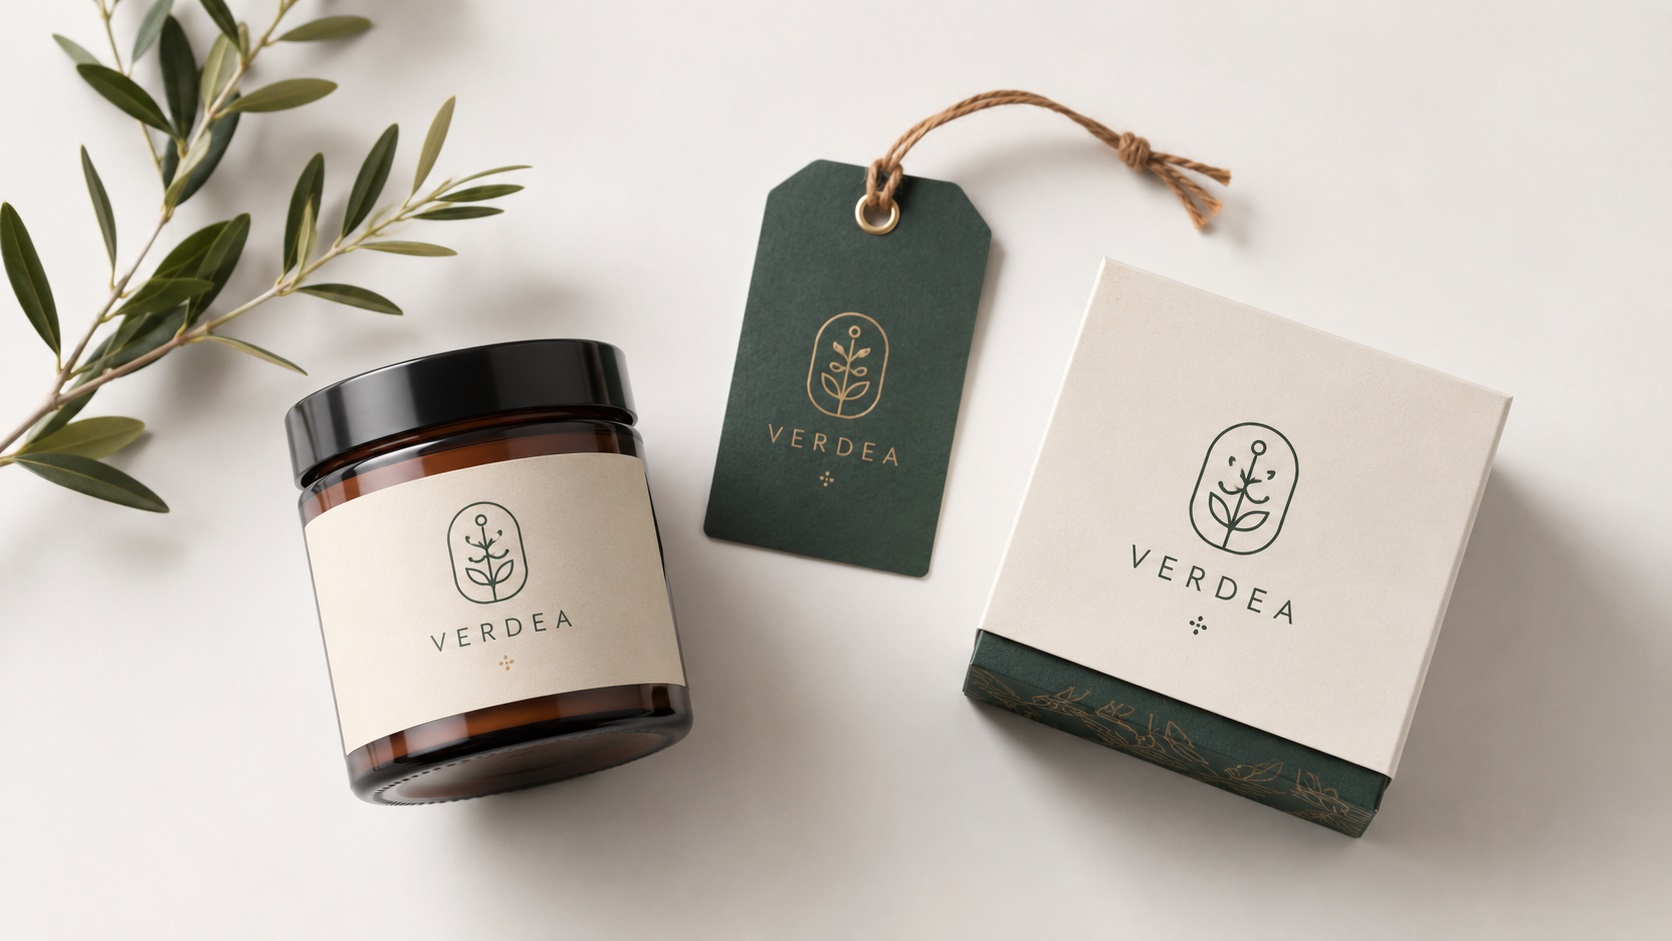
Getting your logo onto your product packaging is one of those steps that makes a business feel real. Whether it is a label on a jar, a sticker on a box, a hang tag on clothing, or a printed sleeve around a bottle, branded packaging changes how customers perceive your product before they even open it.
But packaging and label printing have their own file requirements, and they are stricter than most people expect. Here is what you need to know before your logo ends up on your products.
Why Packaging Requires More Care Than Other Print Jobs
Packaging is handled by customers. It is examined up close, often under bright retail lighting. Small errors or quality issues that might go unnoticed on a banner viewed from across a room become very obvious on a label someone is reading while deciding whether to buy your product.
Packaging print runs are also typically more expensive than other print jobs, especially for custom-shaped labels, foil elements, or specialty finishes. Getting the files wrong and needing to reprint a run of custom labels or packaging is a costly mistake.
This is why getting the files exactly right before anything goes to press matters more for packaging than almost any other print application.
File Format for Packaging and Labels
For any logo, text, or graphic element with hard edges on your packaging, vector files are the standard. Print vendors who produce packaging and labels work with:
- AI (Adobe Illustrator) as the preferred working format for most label and packaging designers
- EPS for compatibility with a wider range of print production software
- PDF (vector-based) for final submission in many commercial print workflows
- SVG in some digital label printing contexts
A raster PNG logo is not suitable for professional label and packaging print production. The edges will not be sharp enough at the sizes and resolutions label printing uses, especially for small labels where fine text and detail need to hold up at a very small scale.
Resolution and Scale Considerations for Labels
Label printing is often done at very high resolutions, sometimes 1200 DPI or higher for certain printing methods, because labels are small and viewed very closely. A logo that works fine at 300 DPI for a large banner can look soft and slightly rough at label printing resolutions.
This is another reason vector files are so important for labels. A vector logo has no inherent resolution limit. Whether the printer outputs at 300 DPI or 1200 DPI, the vector paths produce sharp, clean edges at any resolution. A raster PNG has a fixed pixel count and shows its limits at high resolutions regardless of the DPI setting in the file.
Color Mode and Finishing Options
Label and packaging printing typically uses one of two color systems depending on the print method and production quantity.
CMYK process printing is standard for full-color label production runs. Your file should be set to CMYK, and your logo colors should be defined with CMYK values.
Spot color (Pantone) printing is used for short runs, specialty labels, or when exact color matching is critical, for example, if your brand color must match precisely across every product batch. Spot color printing uses specific premixed inks rather than a CMYK combination, which gives the most consistent and accurate color reproduction.
In addition to color, many packaging print jobs include finishing options like gloss or matte lamination, foil stamping, embossing, or spot UV coating. These elements need to be set up as separate layers or spot color channels in your file. If you are working with a packaging designer or print vendor, ask about their template and layer requirements before building your artwork.
Dieline and Safe Zone
Every shaped label or piece of packaging has a dieline. This is the cut line that defines the exact shape the label or packaging will be trimmed to. The dieline is usually set up as a separate spot color layer in the artwork file.
Two zones sit inside the dieline:
Bleed: Your background color or pattern should extend a short distance beyond the dieline, usually 1 to 3 millimeters, to ensure no white edge appears if the cut is slightly off.
Safe zone: Important content like your logo, brand name, and any text should sit inside a safe zone set back from the dieline, typically 3 to 5 millimeters from the cut edge. Content too close to the edge risks being clipped in cutting.
Your print vendor will provide a dieline template for the specific label size and shape you are ordering. Always build your artwork inside that template rather than guessing the dimensions.
Small Text and Fine Detail on Labels
Labels often contain a lot of information in a very small space. Ingredients, instructions, contact details, barcodes, and legal text all have to fit within a compact label area. This creates real challenges for readability and print quality.
As a general rule, text smaller than 5 to 6 point is difficult to read even when printed correctly, and very fine text at small sizes can break up or fill in during printing. Bold, clear fonts in simple weights tend to hold up better at small sizes than thin, elegant typefaces.
Barcodes are particularly sensitive. They need to be set up at the correct size for the scanner type being used, with adequate quiet zones on each side, and they must be in the correct format for your product type. A barcode that looks fine on screen but is set up at the wrong scale or without quiet zones will not scan properly in retail environments.
Getting Your Logo Label-Ready
If your logo only exists as a PNG or a raster file, it needs to be converted to a proper vector file before it can be used in professional label and packaging production. This is a non-negotiable step for commercial packaging print.
Once you have a clean vector version, a packaging designer or print vendor can place it at any size within your label template, knowing it will hold up at high print resolutions and produce sharp, clean edges on the finished product.
Frequently Asked Questions
Can I design my own labels using Canva?
Canva is useful for visualizing a label concept, but it does not produce print-ready files for commercial label printing. Canva exports PNG or PDF, and while some digital label printers accept these, the logo elements inside them are usually still raster images without true vector quality. For professional label production, vector files built in Illustrator are the standard.
What is the minimum text size for a label?
As a practical guideline, 6 point is generally the minimum for readable body text on a label. Regulatory and compliance text sometimes appears smaller, but anything under 5 point is very difficult for most people to read even with good eyesight.
Do I need a barcode for my product?
If you are selling through retail stores, you will typically need a UPC or EAN barcode. These need to be purchased through GS1 and set up at the correct size specifications. If you are selling direct to consumers online or at markets, a barcode may not be required depending on your product category and location.
What finishes can I add to a label?
Common finishing options include gloss lamination, matte lamination, soft touch coating, spot UV, foil stamping, and embossing. Each requires specific setup in the artwork file and adds cost to the print run. Discuss finishing options with your print vendor before finalizing your design.
What if I want to print my own labels on a desktop label printer?
For very short runs or internal use, desktop label printers can work. They typically accept PNG or PDF files. Resolution requirements are lower than commercial production, but starting from a vector logo and exporting a high-resolution PNG still produces sharper results than using a small raster file directly.
Need artwork converted?
VectorFixer can redraw logos, convert PNG files to SVG, and prepare clean production-ready vector files.
Contact Us