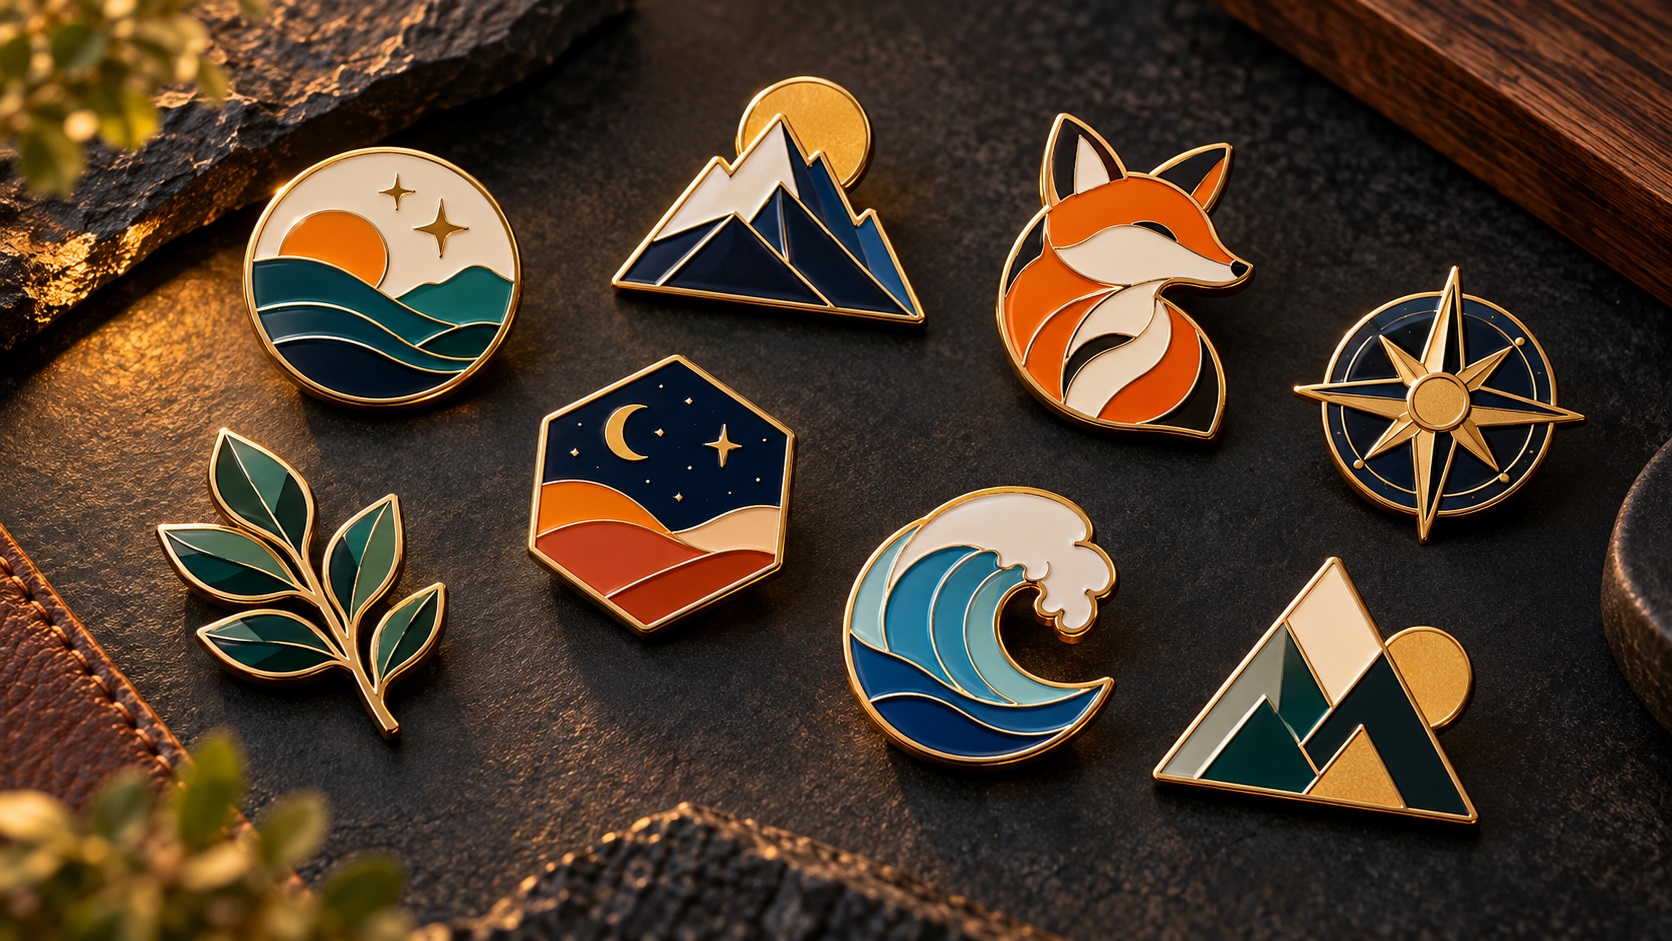
Enamel pins have had an extraordinary run of popularity and show no signs of slowing down. What started as a niche collector culture has become a mainstream merchandise format for brands, events, bands, charities, sports clubs, and small businesses of all kinds. Alongside enamel pins, branded metal products like keyrings, badges, lapel pins, dog tags, and belt buckles all use similar production methods and have similar file requirements.
If you want your logo on any of these products, here is what makes the process work and what tends to go wrong.
How Enamel Pins Are Made
There are two main types of enamel pins, and they differ in how the design is structured:
Hard enamel pins: The metal is die-stamped into the design shape, then colored enamel is pressed into the recessed areas and baked. The surface is polished flat so the metal lines and the enamel sit at the same level. Hard enamel pins have a smooth, glassy surface and a premium feel.
Soft enamel pins: The process is similar but the enamel is not polished down. The result has a slightly textured surface where the raised metal lines stand proud of the colored enamel areas. Soft enamel is typically less expensive and has a slightly different aesthetic.
Both types are produced by die-stamping a metal plate based on your artwork. The artwork defines where the metal lines are and where the enamel fills go. The quality and accuracy of your artwork directly determines how the pin looks.
Why Enamel Pins Have Strict Design Requirements
Enamel pins are small. A typical pin is between 25 and 50mm wide. At that size, the physical limits of the production process become very relevant.
The metal lines that separate color areas, called the trap lines or metal dividers, need to be a minimum width to hold the enamel correctly and not buckle during production. If a line is too thin, it may collapse, and the enamel colors on either side will bleed together.
This minimum line width is typically around 0.4 to 0.6mm at the actual pin size. At 30mm wide, that is a meaningful constraint. Fine detail, thin strokes in letterforms, and delicate linework that works in print often cannot survive the enamel pin production process.
What File Format Enamel Pin Manufacturers Need
Enamel pin manufacturers work from vector files. The standard formats are AI and EPS. SVG is sometimes accepted depending on the manufacturer's software.
The vector file needs to show:
- The outer shape of the pin (the die-cut boundary)
- The exact position of all metal lines within the design
- Each color area clearly defined and separated
- Text converted to outlines
- No gradients, no transparency, no effects that are only achievable in digital display
The manufacturer uses this file to create the die that stamps the metal and defines the enamel color areas. If the file is ambiguous or has structural problems, the manufacturer will either ask for corrections or make interpretations that might not match your intent.
Design Considerations for Enamel Pins
Keep Colors Simple
Each color in an enamel pin is a separate enamel fill. Standard enamel pins typically support between two and seven colors. Each additional color adds cost. Colors are matched to Pantone references rather than CMYK, so specifying your design colors as Pantone values gives the manufacturer the most accurate target.
Unlike printing, enamel colors cannot overlap or blend. Each area of color is completely separate from adjacent areas, divided by a metal line. A gradient is not possible in standard enamel.
Minimum Detail and Text Size
For text in an enamel pin design at a typical 30 to 40mm size, letters should be at least 2 to 3mm tall to be readable. Very fine text may need to be removed or enlarged.
For design elements, anything narrower than about 0.5mm at the pin size may not survive production. This includes thin decorative borders, fine cross-hatching, and delicate linework.
The Outer Shape
Enamel pins can be any shape. The outer shape is defined by the die and is cut to the outline of your design. A standard shield, circle, or rectangle die is less expensive to produce than a fully custom die shape. If your logo has a simple outer boundary, using a standard die shape saves cost. If the pin needs to closely follow the outline of the design, a custom die is needed.
Metal Color
The metal itself can be gold, silver, black nickel, antique brass, or other finishes. This is the color of the trap lines and the background metal where no enamel is applied. The metal color choice affects the overall look of the pin significantly, particularly for dark versus light designs.
Adapting a Logo for Enamel Pin Production
Most logos need some adaptation before they work as enamel pin designs:
Thicken thin lines: Any line thinner than 0.5mm at the pin size needs to be thickened or removed. This includes thin strokes in letterforms, fine borders, and delicate illustration details.
Remove or enlarge small text: Text that works at print scale often does not work at pin size. A tagline in the logo may need to be removed from the pin version entirely.
Define all color areas explicitly: Every area of the design needs to be a clearly defined, completely enclosed color fill separated from adjacent areas by a metal line.
Remove gradients and effects: These are not achievable in enamel. Flat color fills are the only option.
Define colors as Pantone references: The manufacturer needs Pantone references to match colors accurately. If you do not have Pantone codes for your brand colors, they can be assigned from a Pantone guide by matching to the closest available shade.
Other Metal Branded Products
Keyring blanks, lapel badges, dog tags, and similar metal products use similar processes. Laser engraving on metal (covered in a separate article) follows different rules. Die-struck and enamel-filled products all share the same design constraints as enamel pins.
For laser-engraved keyrings and similar products, a single-color vector design is needed. For die-stamped products with multiple colors, the same enamel pin guidelines apply.
Frequently Asked Questions
Can I use my full logo as an enamel pin design?
Often yes, but most logos need some adaptation. Fine detail, thin strokes, and small text all need to be checked against the minimum constraints of the production process at the intended pin size. A slightly simplified version of the logo often works better than trying to fit every detail into a small pin.
What Pantone colors should I specify?
Specify the closest Pantone Matching System (PMS) color to each color in your logo. If you have defined Pantone colors for your brand, use those. If not, a Pantone color chart can be used to identify the closest match to your existing brand colors.
Can my pin have a glitter or special effect enamel?
Many manufacturers offer specialty enamel options including glitter, glow in the dark, and translucent enamel. These follow the same basic design setup but with additional specifications for the specialty fill. Ask your manufacturer what specialty options are available and how to specify them in the artwork.
Do I need to add the trap lines to my artwork myself?
The metal dividing lines between color areas are defined by the boundaries between different colored shapes in your artwork. If your vector file has clearly separated, adjacent color fills touching along a shared edge, the manufacturer interprets those boundaries as the trap lines. You do not typically need to add separate line elements for the dividers.
How long does enamel pin production take?
Production time varies by manufacturer and order size. Most enamel pin orders take two to four weeks for production plus shipping. Custom die shapes take slightly longer than standard shapes. Always confirm production time with your manufacturer before your deadline.
Need artwork converted?
VectorFixer can redraw logos, convert PNG files to SVG, and prepare clean production-ready vector files.
Contact Us