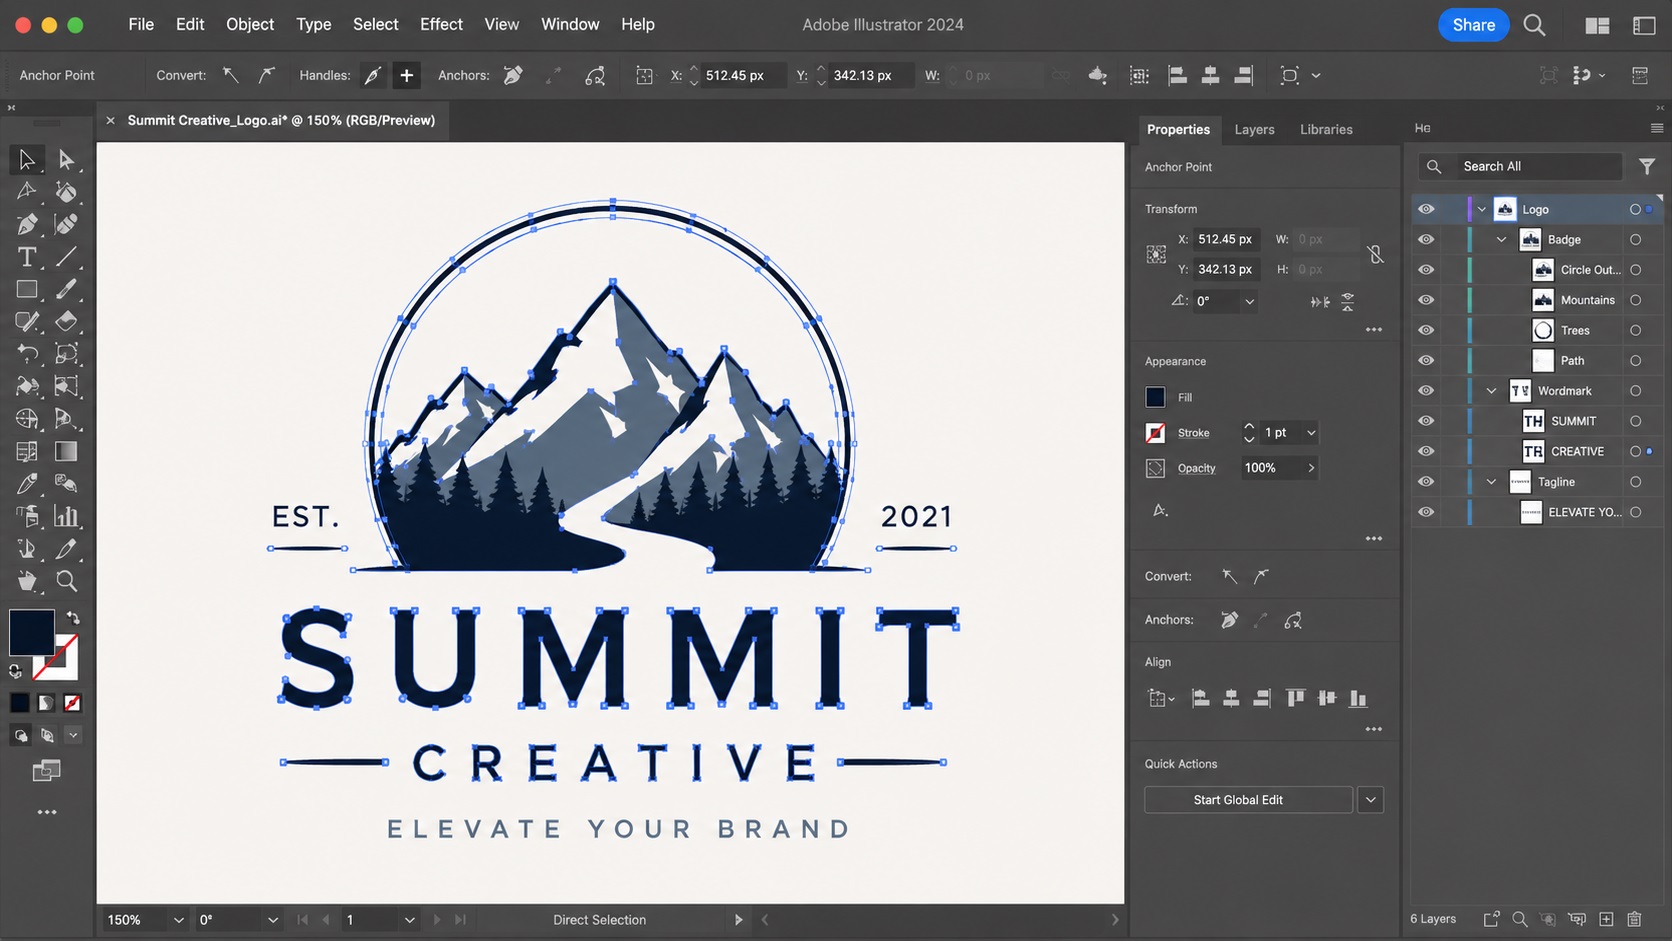
Getting a vector file made is the first step. Making sure it is actually clean and usable before it goes to a printer is the step a lot of people skip. A file can technically be a vector and still cause problems at the printer, slow down production, or produce a result that does not match the original design.
The good news is that checking a vector file does not require advanced design skills. There are a few straightforward things anyone can look for, and knowing what to check saves you from expensive surprises later.
Why Vector Files Can Still Be Problematic
Not all vector files are built equally. A vector file created by automatic tracing software, a rushed designer, or a bad online converter might technically open in Illustrator but still be full of issues. Common problems include thousands of unnecessary anchor points, hidden shapes lurking beneath the visible design, open paths that should be closed, stray dots scattered across the artboard, and colors that are defined incorrectly for the intended print process.
Sending a messy vector file to a printer or sign shop can result in longer production times, unexpected charges for file cleanup, or a finished product that does not look right.
Check One: Zoom In on the Edges
Open the file in Adobe Illustrator or Inkscape and zoom in as far as you can on the edges of your logo shapes. Clean vector edges should be smooth and precise. If the edges look jagged, stepped, or follow a pixelated staircase pattern, the file was likely auto-traced from a raster image without proper cleanup.
Smooth curves should look like smooth curves at any zoom level. If a curve that looks fine at normal size turns into a series of tiny straight lines when you zoom in, the path has too many points and was not traced cleanly.
Check Two: Select Everything and Look for Stray Objects
In Illustrator, press Command A or Control A to select everything on the artboard. Then look at the canvas carefully. If you see extra selection handles appearing in blank areas away from your logo, there are stray objects in the file. These could be tiny dots, leftover shapes from the tracing process, or hidden white shapes that are invisible against the white artboard.
Stray objects can interfere with color separation, add unexpected cut lines in vinyl and laser cutting workflows, and confuse printers who are trying to understand the file structure.
To remove them, use Edit then Find and Replace, or use the selection to manually identify and delete anything that should not be there.
Check Three: Count the Anchor Points
Select a simple shape in your logo and look at how many anchor points it has. A clean circle drawn by hand in Illustrator typically has four anchor points. A circle produced by a sloppy auto-trace might have forty, eighty, or even more.
Excessive anchor points are a sign that the file was not manually traced or properly cleaned up. They make the file harder to edit, can slow down printing workflows, and sometimes cause rendering errors in certain software.
A clean vector file uses the minimum number of points needed to accurately describe each shape. Curves should flow smoothly between widely spaced anchor points, not jerk through dozens of closely packed ones.
Check Four: Confirm All Paths Are Closed
In Illustrator you can check for open paths by going to Edit, then Select, then All, and then using the Object menu to check path properties. Alternatively, if you try to apply a fill color to a shape and it does not fill correctly, that is often a sign the path is open somewhere.
Open paths matter most in cutting workflows. A vinyl cutter or laser cutter follows paths, and an open path can cause the cutter to start or stop at an unexpected point, leaving an unfinished cut line.
Check Five: Verify the Color Mode
If the file is going to a print shop, the colors should be defined in CMYK, not RGB. To check this in Illustrator, go to File then Document Color Mode. If it says RGB, the file needs to be converted to CMYK before going to print.
You should also click on individual color fills to check whether they are spot colors (Pantone), process colors (CMYK), or RGB values. A file intended for screen printing may need specific spot colors defined. A file for general print production should use CMYK.
Check Six: Make Sure Fonts Are Outlined
If your logo includes text, the fonts should be converted to outlines before the file is shared with a printer. Live text can reflow or substitute a different typeface if the printer does not have the same fonts installed.
To check in Illustrator, click on any text in the file. If it is live text, you will see a cursor appear when you double-click it. If it is outlined, it behaves like a regular vector shape.
To convert, select all text, then go to Type and choose Create Outlines. Do this before sending the file anywhere.
Check Seven: Look at the File on a Colored Background
White shapes are invisible on a white artboard. Switch the artboard or canvas background to a bright color, like red or blue, and look at the logo again. Sometimes white shapes that were meant to be deleted are hidden in the file and only become visible when viewed against a non-white background.
This is especially common with auto-traced files where the original white background area was converted into a white vector shape rather than simply being deleted.
Frequently Asked Questions
My printer said the file had too many anchor points. What does that mean?
It means the vector file was likely created by automatic tracing rather than manual drawing. Each shape has far more points than it needs, making the file complex and harder to work with. A proper manual trace uses far fewer points to describe the same shapes.
How do I know if my file came from auto-trace or manual tracing?
Zoom in on curved shapes and count the anchor points. A manually traced circle or curve typically has four to eight points at most. An auto-traced shape of the same size might have dozens. You can also ask the service that created the file whether it was manually traced.
My file looks fine on screen. Is that enough?
Not always. Screen rendering can hide problems like stray objects, open paths, and incorrect color modes that become apparent in production. Running through the checks above catches issues before they reach a printer.
Can I clean up a messy vector file myself?
Yes, if you have Illustrator skills. You can use the Simplify Path function to reduce anchor points, manually delete stray objects, close open paths, and convert colors. For heavily auto-traced files, it is sometimes faster to retrace the logo manually than to clean up the existing mess.
What should I do if I find problems in my file?
If the issues are minor, a designer can clean them up relatively quickly. If the file is a heavily auto-traced mess, a full manual retrace is usually the more efficient fix.
Need artwork converted?
VectorFixer can redraw logos, convert PNG files to SVG, and prepare clean production-ready vector files.
Contact Us