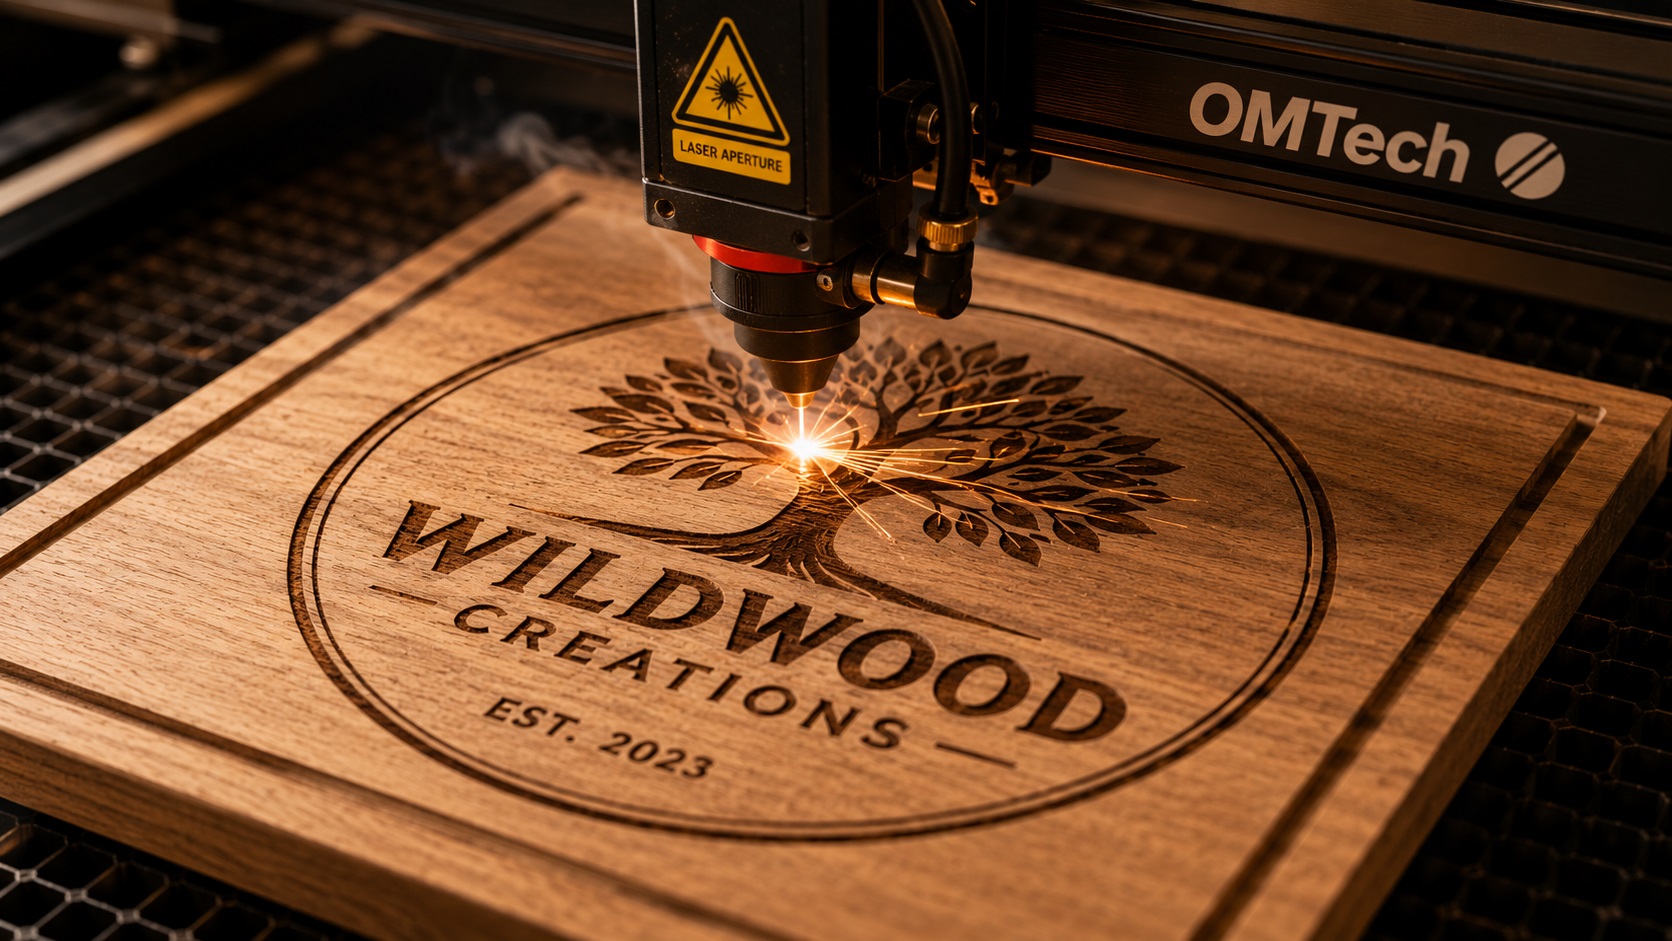
Laser engraving and rubber stamps are both processes that strip a logo down to its simplest form. There is no color, no gradient, no shading. Just a single shape burned into wood, etched into metal, or pressed into rubber. A logo that looks great in full color does not always translate well once you take all the color away, and a lot of people only discover this after the engraving is already done.
Here is how to prepare a logo properly before it goes anywhere near a laser or a stamp press.
Why These Processes Need a Different Kind of File
Both laser engraving and stamp making work from a single layer of black and white artwork. The laser either burns or does not burn a given point. The stamp either has rubber raised at a point or it does not. There is no in-between, no color blending, and no soft edges the way you might see in a printed or screen-displayed version of your logo.
This means your logo first needs to be reduced to a black and white silhouette, and that silhouette needs to be a clean vector file. A laser cutter reads vector paths the same way a vinyl cutter does, following the line precisely. A messy or low-quality raster image, even a black and white one, will not give a laser the clean path information it needs.
What Happens When a Full-Color Logo Gets Reduced to One Color
This is the step that catches people off guard. A logo with multiple colors, subtle shading, or fine gradient work often relies on that color separation to read clearly. Strip the color away and reduce everything to solid black, and some details can disappear or merge together in confusing ways.
For example, a logo where a darker blue shape sits next to a lighter blue shape might look perfectly clear in full color. Reduce both to solid black and the two shapes become one indistinguishable blob unless there was always a clear outline or gap separating them.
This is why a proper black and white reduction is not just a matter of removing color. It often requires rethinking which lines need to stay visible and which details need to be simplified or removed entirely so the design still reads clearly as a single color.
Design Adjustments That Make a Big Difference
Add or Strengthen Outlines
If your logo relies on color contrast rather than outlines to separate shapes, those shapes need defined borders added before converting to one color. This keeps individual elements visually distinct even without color to tell them apart.
Remove Fine Detail
Laser engraving and stamp making both have a practical resolution limit, especially at small sizes. Tiny details, thin gradients translated into dot patterns, or very fine text often do not hold up. Simplifying these elements before engraving prevents a muddy or unreadable result.
Watch Stroke Width
Very thin lines can be difficult for a laser to burn cleanly or for a stamp to hold its shape over repeated use. As a general guideline, lines should be at least 0.5 to 1 millimeter wide at the final engraved or stamped size, though this varies by material and equipment.
Consider Negative Space
Some logos work better engraved as a positive image, where the logo shape itself is burned or raised. Others work better in reverse, where the background is removed and the logo appears as the untouched material. Think about which approach makes sense for your specific logo and the material you are using.
File Formats for Laser Engraving
Most laser engraving software accepts vector formats including SVG, AI, EPS, and DXF. DXF is particularly common in laser cutting and CNC contexts, so check with whoever is operating the equipment about their preferred format.
For stamp making, vendors typically also want a vector file, often SVG or EPS, reduced to pure black and white with no gray values or color.
If your only logo file is a colorful PNG or JPG, it needs to go through two steps before it is ready: first converting to a clean vector file, and second simplifying it down to a single-color version with the design adjustments mentioned above.
Common Use Cases
Wood and Acrylic Signage
Laser-engraved signs are popular for office nameplates, awards, and decorative branding pieces. A clean single-color vector logo engraves crisply into wood or acrylic, producing a sharp, professional result.
Metal Stamping and Engraving
Industrial nameplates, tool branding, and jewelry often use laser engraving on metal. The same single-color vector principles apply, though metal engraving sometimes has even tighter requirements around minimum line thickness.
Rubber Stamps for Packaging or Paperwork
Many small businesses use a custom rubber stamp with their logo for invoices, packaging, or return address purposes. A simplified single-color version of the logo, properly vectorized, produces a clean and consistent stamp impression.
Leather and Wood Branding Irons
For businesses that brand products like leather goods or wood items, the same single-color vector principles apply, with material-specific considerations around line thickness and detail level given the way branding irons transfer heat.
Getting Your Logo Ready
If you need your logo prepared for any of these processes, the general workflow looks like this:
1. Start with the cleanest, highest quality version of your logo available 2. Convert it to a proper vector file if it is not one already 3. Reduce the design to a single color, adding outlines or adjusting details as needed so it still reads clearly 4. Check minimum line thickness against the requirements of your specific engraving or stamping method 5. Export in the format your equipment or vendor requires (commonly SVG, EPS, or DXF)
A professional vector and logo cleanup service can handle all of these steps for you, delivering a file that is specifically prepared for single-color engraving or stamping rather than just a generic vector trace.
Frequently Asked Questions
Can any logo be converted to a single-color engraving file?
Most logos can, though some require more adjustment than others. Logos that rely heavily on color contrast or fine gradients need more rework to read clearly in a single color. Simple, bold logos with clear shapes convert more easily.
What is the difference between DXF and SVG for laser cutting?
Both are vector formats. DXF originated in CAD software and is widely used in laser cutting, CNC routing, and industrial design contexts. SVG is more common in general graphic design and web use. Many laser engraving machines accept both, but check your specific equipment's requirements.
How small can text be for laser engraving?
This depends heavily on the material and the laser equipment, but a general starting point is keeping text at least a few millimeters tall for most materials. Finer materials like metal sometimes allow smaller detail, while softer materials like wood may need slightly larger text to engrave cleanly.
Do I need a different file for engraving wood versus metal?
The vector file itself can often be the same, but the specific settings used by the laser (power, speed, passes) will differ by material. Some adjustments to line thickness may also be recommended depending on how a particular material responds to engraving.
Can my full-color logo just be printed in black and white instead of properly converted?
Simply printing a color logo in black and white, also called a basic desaturation, often does not produce a clean result for engraving. Areas that relied on color contrast may merge together or look muddy. A proper single-color conversion involves rethinking the design specifically for one color, not just removing the color information.
Need artwork converted?
VectorFixer can redraw logos, convert PNG files to SVG, and prepare clean production-ready vector files.
Contact Us